
A lot of photographers and artists uses WordPress to show their artwork and portfolio.
These sites usually contain original images. Sometimes other people may steal those images and use them without permission.
To solve this problem, some site owners add their own brand name or signature or watermark to their images.
In this article, we will show you how to add a watermark to your images in WordPress using a plugin.

How to add a watermark to images in WordPress
The first thing you need to do is to install and activate the Signature Watermark plugin. It’s a free plugin found in WordPress repository. After successful activation, you will need to go to Setting>> Signature Watermark section in your WordPress admin to configure the settings.

Here you can select the Watermark type like text, image or image and text and Enable Automatic Watermarks for the selected Image Sizes and Image Types. Enter watermark text, select Watermark Font, Watermark Text Width, Watermark Text Color, Watermark Text Transparency.
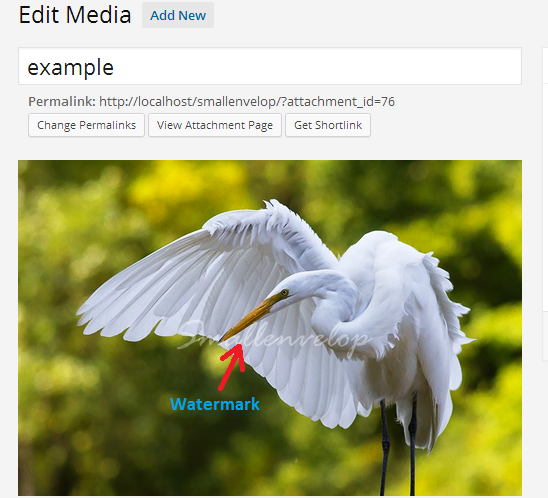
After the setup, we need to add/upload an image file to media. Now we can see the watermark text ‘SmallEnvelop’ on this image as we have selected Watermark type Text Only.
That’s it, now you can use this image in your post and pages.

Your work is safe with your Signature Watermark.
🙂
I like this website its a master peace ! Glad I found this on google .